
The Railroad Spike Coat Rack is finished!
This was a really fun project that I made for my nephew. He asked if I could make it for him and I thought, “why not?”
Now that I’m writing the follow-up post to Learning to Blacksmith #5 I’m wondering if this project even qualifies as a blacksmith project. Basically, I got some railroad spikes hot, bent them, and made a very simple set of brackets for the coat rack.
I say that, but I need to be honest with myself. I’m not that good at blacksmithing. I don’t have much experiencing with the hammer, forge, and anvil. This is exactly the type of project that I need to be doing.
Little by little. Skill by skill.
Watch the YouTube video below, and tell me what you think.
Making a Railroad Spike Coat Rack
If you would rather read about the process – see below, though the video is a tad more interesting.
Material
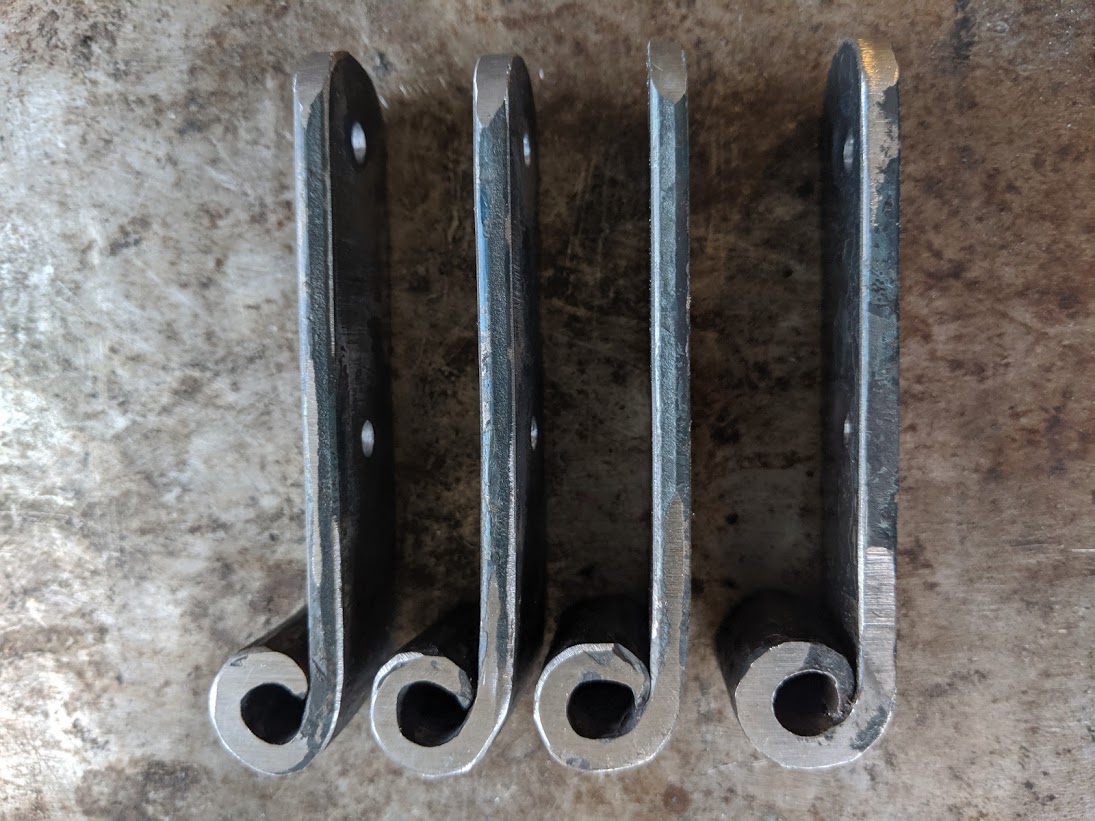
4 – Rusty old Railroad Spikes
2 – 1” x 12” flat stock (for the brackets)
2 – 1” x 8” flat stock (simple curve to add detail to the brackets)
Roughly 4 linear feet of reclaimed lumber.
Hardware to secure the hooks and brackets to the wood.
Making the Hooks
Bending the railroad spikes went well and I was able to duplicate the same bend with all four hooks.
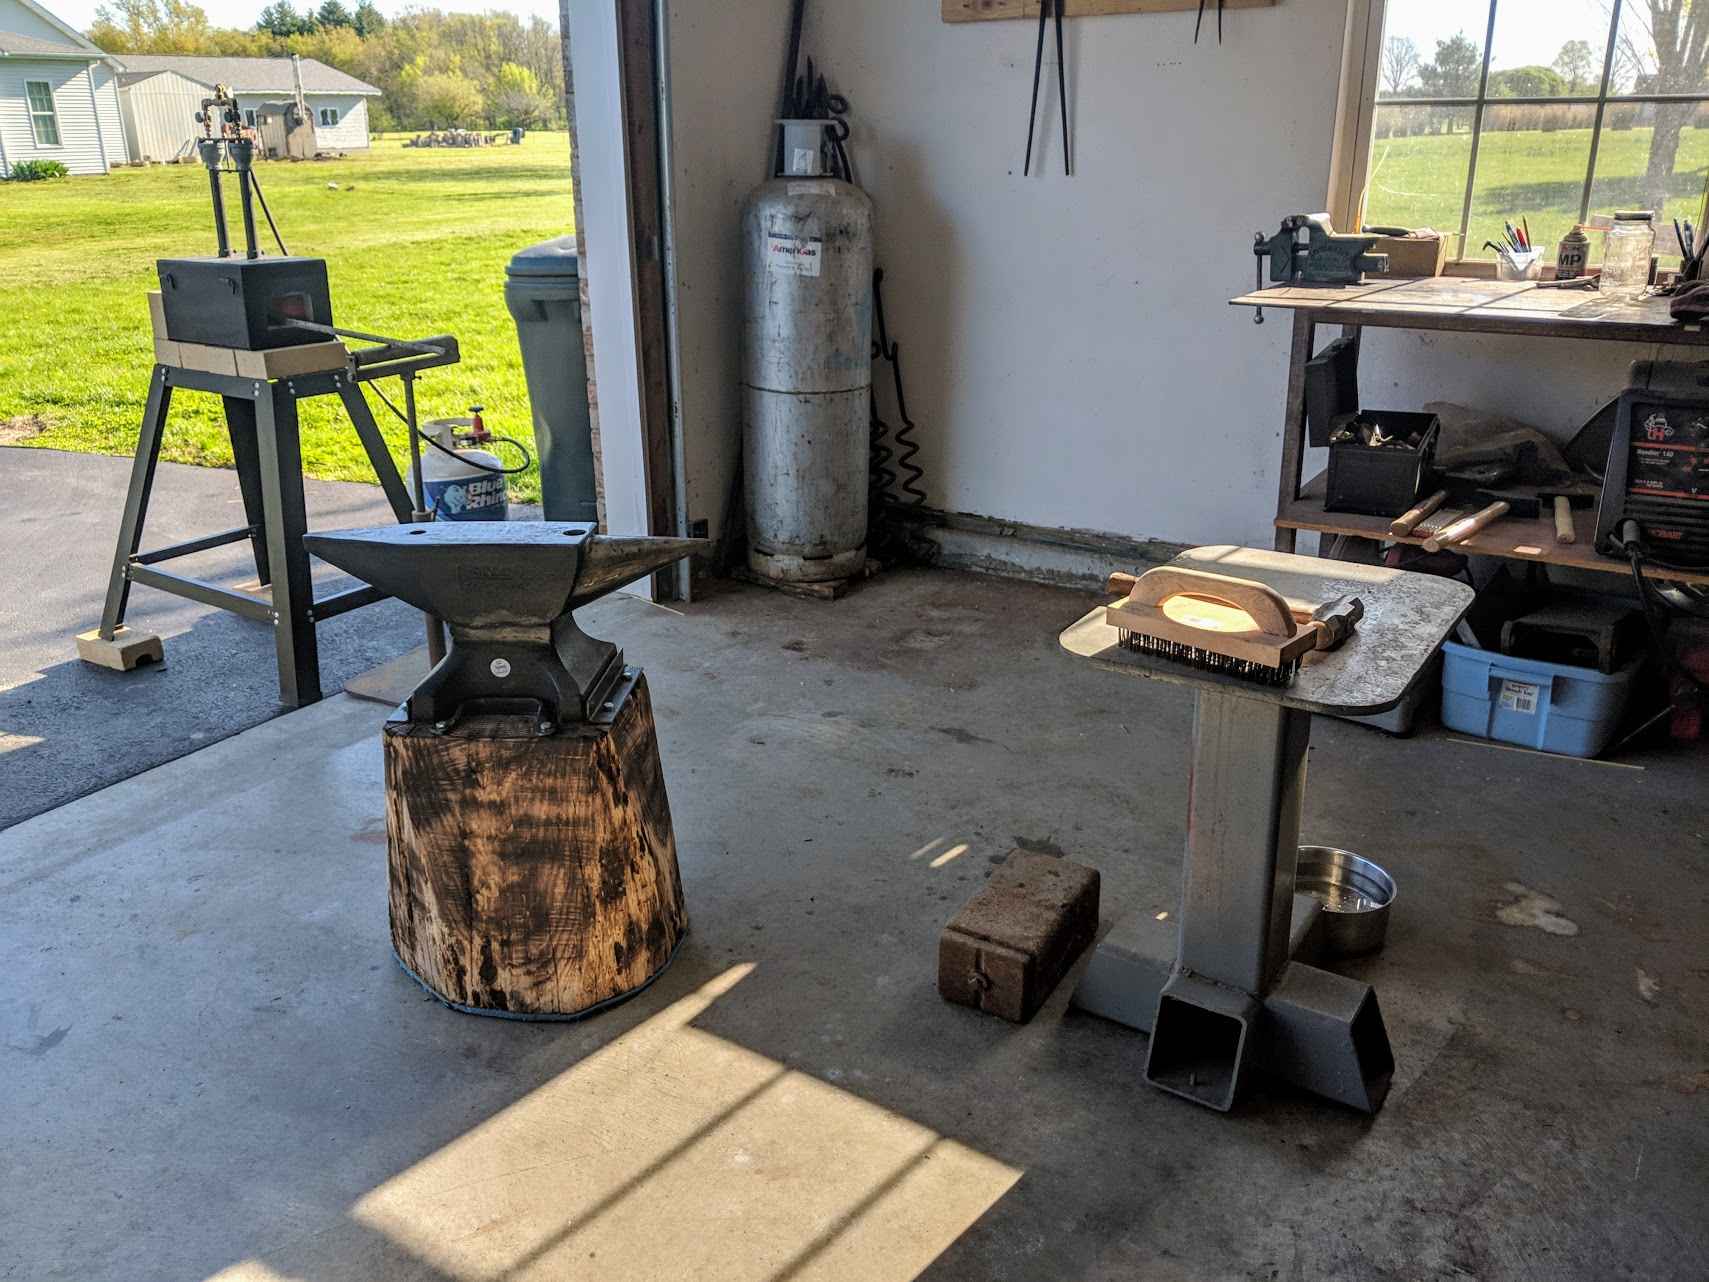
One nice thing about using a gas forge is being able to warm up multiple pieces of metal without burning the metal which can happen in coal forges. (That being said, I can’t wait until I have a coal forge of my own)
With the spikes hot, I took them out one by one, secured them in the vice and hammered them into a hook position.
The next time I bend railroad spikes, however, I’m going to use a pipe or a length of square tubing to slip over and bend the spike. That would definitely be more effective.
Forging the Brackets

I fabricated two 4-½” x 6” brackets to support a shelf above the base of the coat rack.
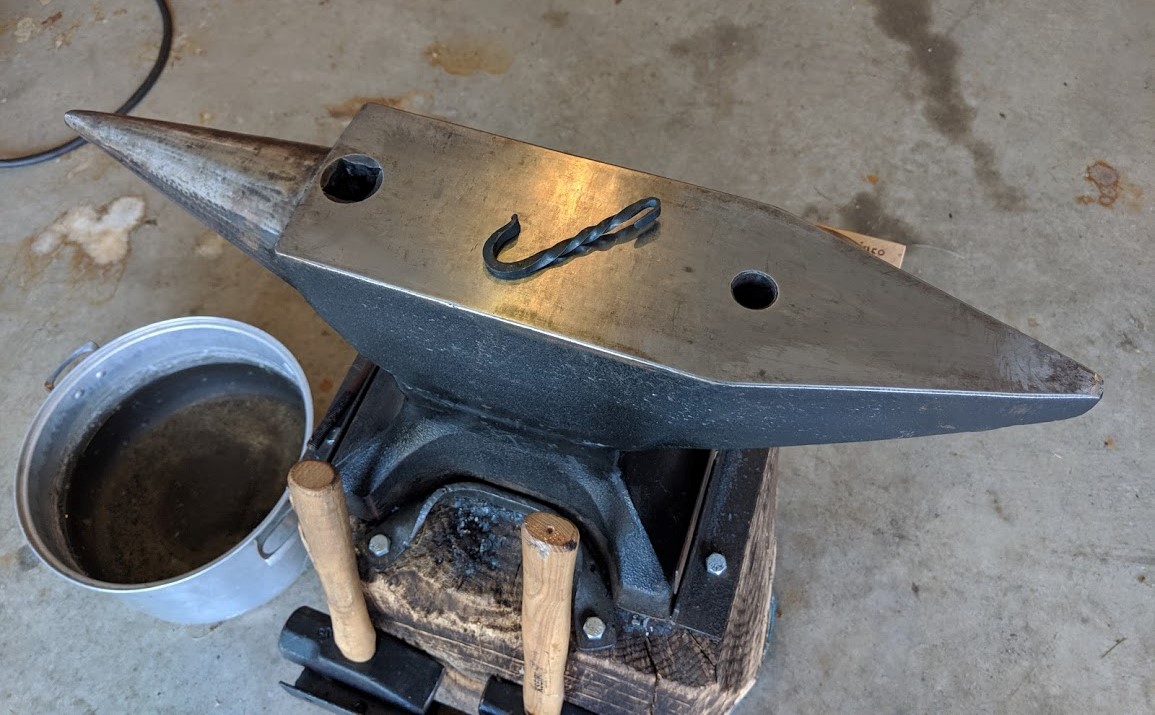
I used a light cross-peen hammer to hammer indentions and imperfections into the face of the metal and then bent them in a vice at a 90-degree angle.
This was forging at its absolute simplest, but it was forging all the same.
I had planned on doing some scrollwork to fit inside the bracket, but… Would you believe me if I said I forgot?
Well, I did. (shrug) It happens.
Assembly
Prior to assembly, I drilled and countersunk holes in all of the railroad spikes – two holes in each spike.
Then, I drill three holes in each of the brackets. Two holes on the 6” side and one in the top 4-½” side.
Once, all of the holes were drilled in the metal and the corresponding holes were drilled in the wood, the project went together without a hitch.
I used three-prong t-nuts to anchor the bracket screws and the result was fantastic. I’ll definitely use them in the future.
For the railroad spike hooks, I used 1-¼” black drywall screws for a flush finish.
I fastened the railroad spikes 8” on center across the face of the rack. This way, you can mount the coat rack on walls with studs 16” or 24” on center.
Simply remove the top screw from two of the spikes and use a 3” or longer drywall screw and mount the coat rack directly to the wall.
Personally, I think this “no-fastener” method will look really good on the wall. Not like store-bought versions that require little wooden buttons to cover up screw holes.
Final Thoughts
And that’s it. If you’ve made it this far, I’m actually surprised. Please leave a comment below and let me know why. Most people watch videos nowadays versus reading.
All the same, thanks for reading!


