
Littlestown Foundry is an American company with over 100 years of history. Since 1916 it has provided machining, painting, and commercial castings. One of its iconic and well-known castings is the Littlestown Bench Vise.
Recently, I picked up such a vise and decided to fix it up a bit. A friend asked me to keep my eye out for a vise and I thought this one would work well for him.

WWI & WWII
When I discovered this little bench vise, I didn’t know the Littlestown Foundry had such a long and patriotic history. During both WWI and WWII Littlestown Foundry produced several different products that directly supported the war effort.
According to their website, in WWI they produced castings for bearings and shafts. Then in WWII, they made hand grenades, rifle grenades, bomb plugs, and anti-personnel mines.
Both of my grandfathers served in WWII and as an Army veteran myself learning of Littlestown’s connection to those two wars made me feel connected to Littlestown in return.
Originally, I was refurbishing this vise for a friend. Now, I have decided to keep it for myself, for sentimental reasons.
The Restoration
This restoration was very simple.
Here was my thought process:
- Get the paint and rust off. Get everything back down to the bare metal.
- Repair the jaws and fabricate new pads.
- Paint, oil, and assemble.
YouTube
If you would like to watch the restoration on my YouTube channel, click on the video below.
Step 1
I used a Dewalt wire-wheel on a 4” Makita grinder. It made quick work to get the majority of the paint off the painted components.
There are two handles on this vise that tighten or loosen the vise jaws and tighten or loosen the oscillating vise base.
After removing the rust, I soaked them and the other hardware in EVAPO-RUST.
As an Amazon Associate I earn from qualifying purchases.

Step 2
Three of the four holes used by screws to securely tighten the jaw pads in place were functional. One screw, however, was sheered off and flush with the surface of the jaw.
To fix this I needed to drill out what was left of the old screw as best I could and tap it
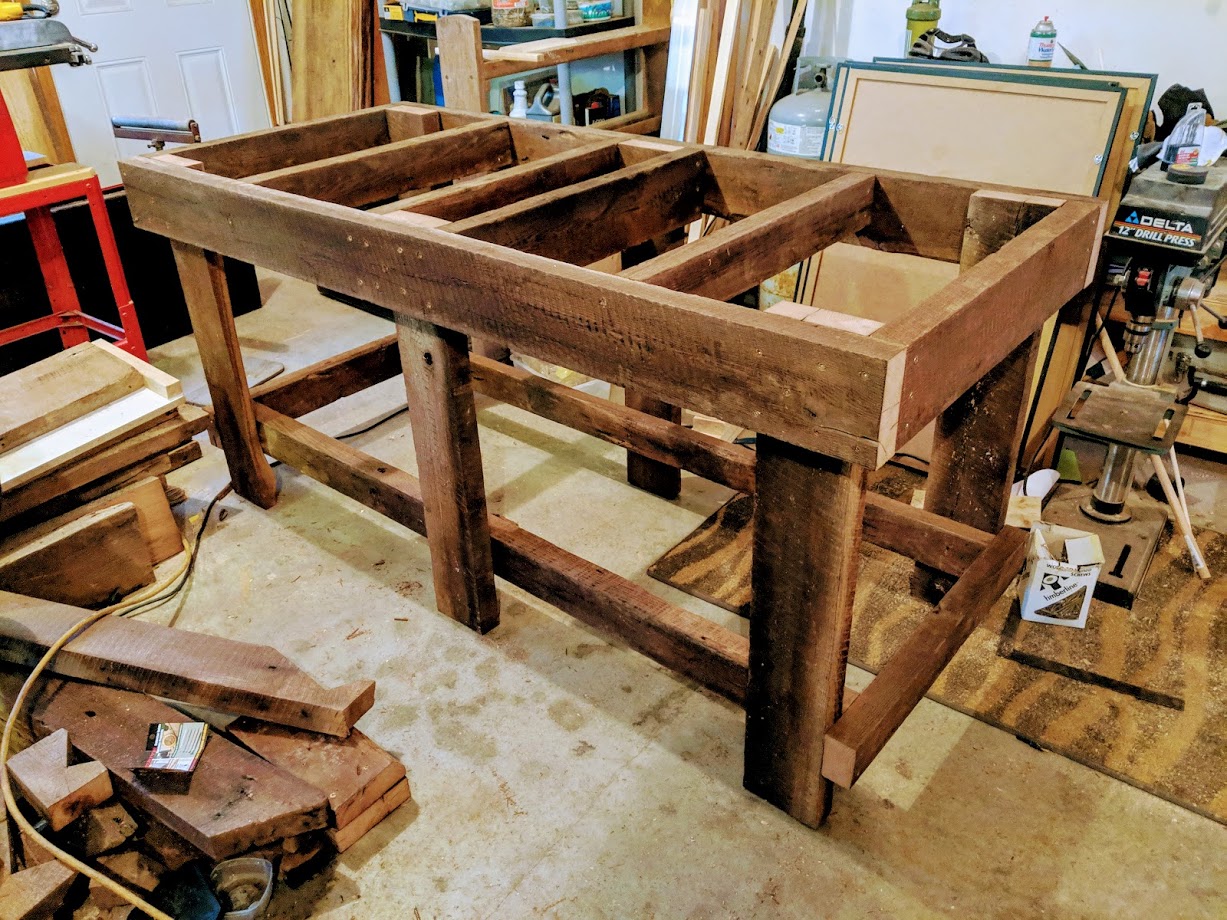
Using a couple of scrap 2×4’s I fabricated a rudimentary cradle to hold the vise body so that I could accurately drill the hole. I clamped this 2×4 cradle to my Delta bench drill-press and had no trouble removing the offending screw remnant.


Then, I tapped the hole with a tap and die set I recently purchased from Amazon.
Next, I needed to fabricate new pads. Before I decided to make new pads, I did my best to find replacements online, but I wasn’t able to track them down.
I cut some scrap ¼” x 1” bar stock to length, drilled and countersunk the holes, then after securing the rough pads to the vise body ground them to profile with a 4” grinding wheel and my trusty Makita grinder.
Cutting, drilling, and grinding this much metal created a lot of dust and debris. Throughout this and most of the restoration, I wore a 3M air-filter mask.
Clean air is worth the minor discomfort and inconvenience of wearing a mask.
Step 3 – Paint?
As you have undoubtedly surmised by the photos, I did not paint the vise. I planned to paint it but fell in love with the clean and classic industrial look of the bare metal.
I actually bought two different green paints (one & two) from Amazon to resurface this old vise. They will definitely get used in a future project, but my gut told me to not paint this vise.
Instead of paint, I warmed the vise up to about 420 degrees (smoking point) and applied a few coats boiled linseed oil.
For metal on metal parts, I used a heavy duty metal protectant that both prevents rust and lubricates.
To top off the restoration I gave the vise a pair of new rubber vise pads that attach with magnets.
Conclusion
What started out as a project for a friend turned into a gift to myself. I am very pleased with how everything turned out and I especially like the dark metallic look I achieved.
In the end, using a vise is dirty, hot, and rough work. The paint will inevitably be scratched, burned, and painted over.
Having a tough looking durable vise like this makes a lot of sense, but at least for a while, I will probably pamper the little thing and enjoy looking at it.
Thanks for reading!


