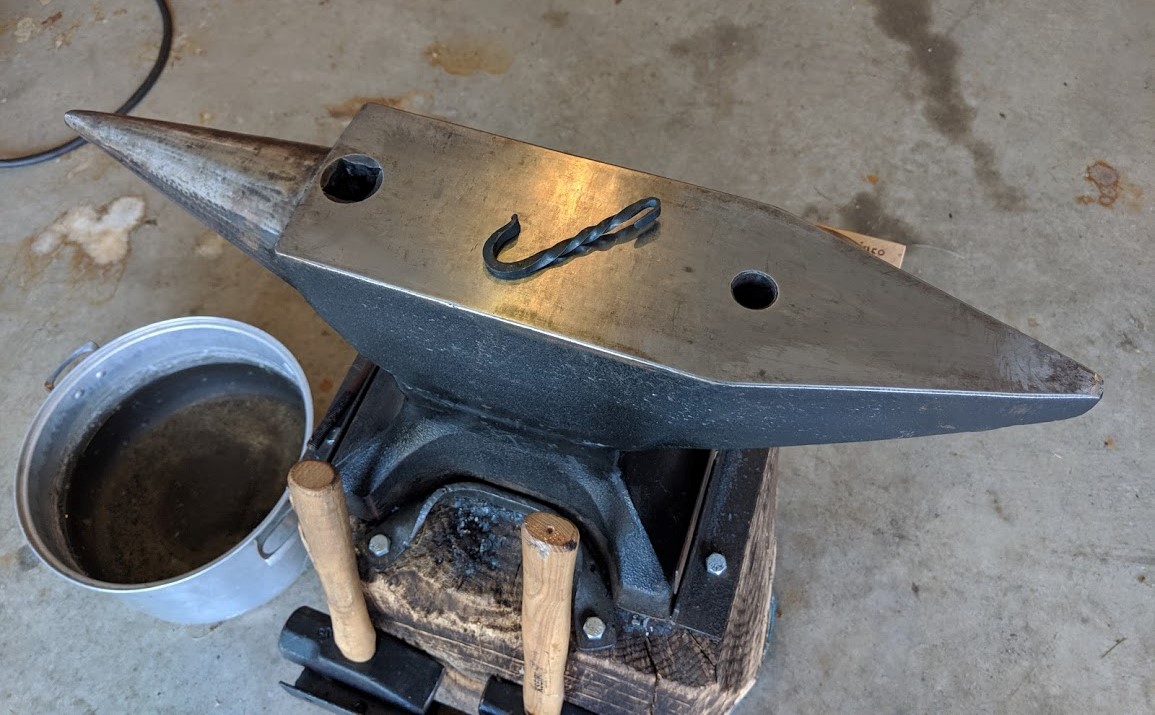
I have taken my first steps into the world of blacksmithing. And, I started by making an anvil stand.

If blacksmithing had a foundation it would be the anvil. True, you need fire to get the metal hot and you need a hammer to hit it, but equally important, you need an anvil to hit back!
The Anvil
In August of this year, I bought a RIDGID® 165lb Forged Anvil made by Peddinghaus. I received it more than two months later with a ‘Made-in_Germany’ tag on the outside. The RIDGID Peddinhaus anvil is the Cadillac of new double bick anvils.


Per the Ridgid website:
RIDGID® Peddinghaus anvils have a reputation for quality and craftsmanship. Peddinghaus anvils are drop-forged and produced entirely from high-grade steel for maximum durability.
Given the pedigree of this new anvil, I was excited to create a custom stand
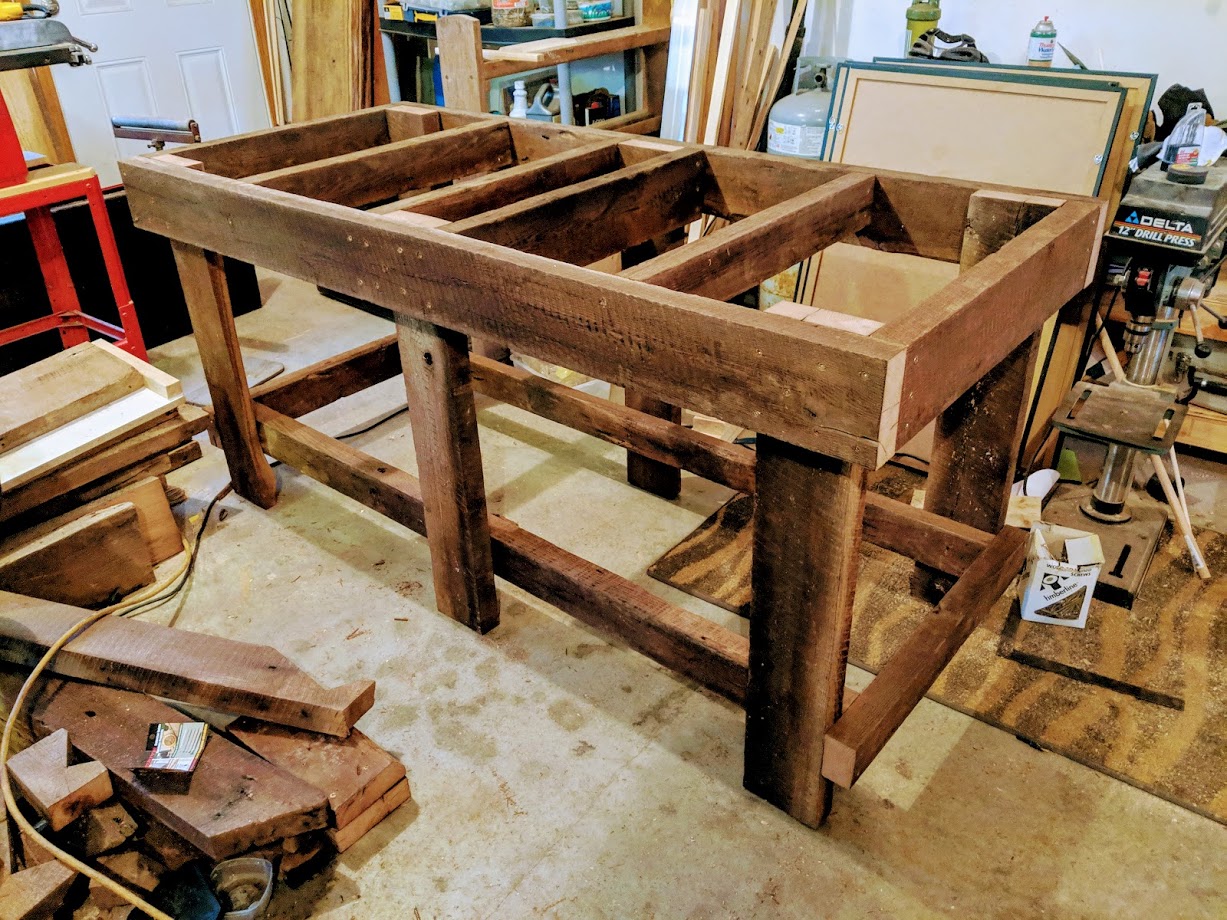
There are many different types of anvil stands, those made out of metal sides filled with sand, others band uniform lengths of lumber together, but an iconic method to support an anvil is to simply use a tree trunk.
Later, when I have a heavier anvil, I will construct a metal anvil stand filled with sand. The sand makes anvil height adjustment possible and also is probably the best way to level the anvil. However, my new Ridgid anvil only weighs 165 pounds and let’s face it, I’m excited to cut up a tree trunk with a chainsaw.
Click on the YouTube clip below to watch how I constructed my stand!


